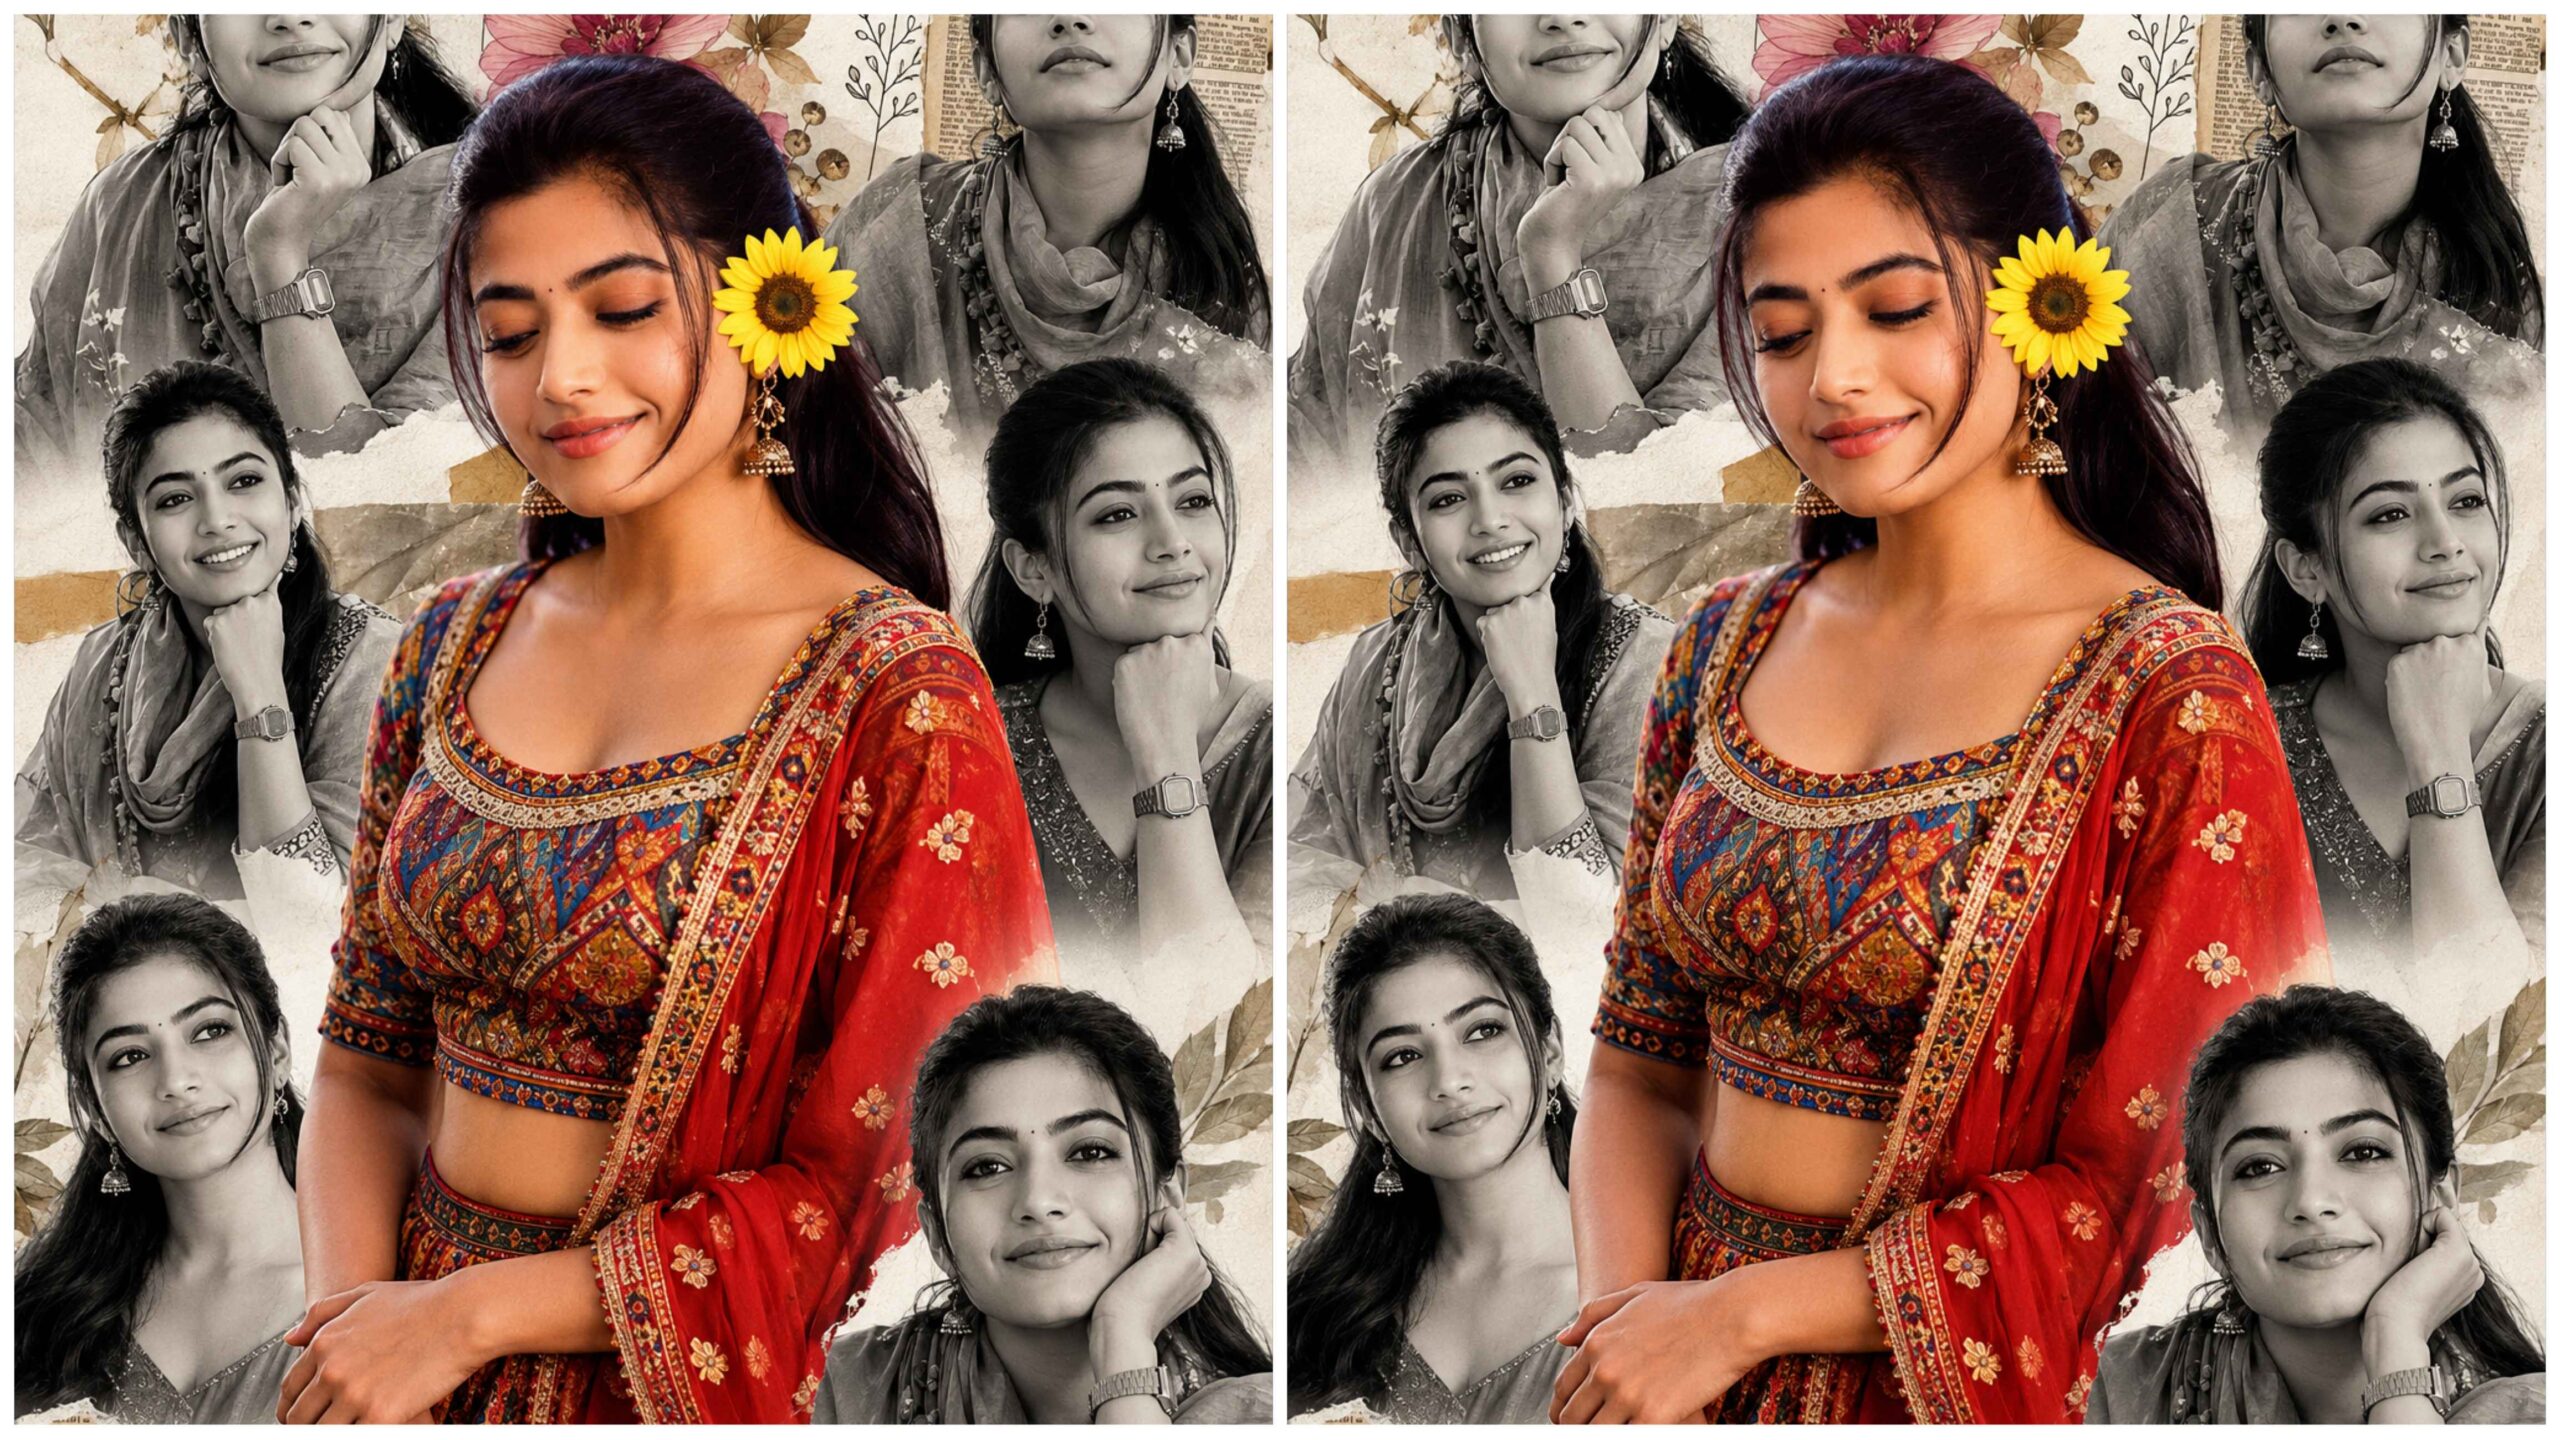
Smartphone cameras have improved dramatically over the last few years, making it possible for almost anyone to capture beautiful photos. However, taking a good picture is only half the process. Thoughtful editing can transform an ordinary image into one that stands out on social media, a personal blog, or even a professional portfolio.
If you’re new to mobile photo editing, you don’t need expensive software or years of experience. With the right techniques and a little practice, you can create natural, eye-catching photos directly from your phone.
In this beginner’s guide, you’ll learn practical mobile photo editing tips, common mistakes to avoid, and simple methods that help your pictures look more polished without appearing over-edited.
Why Mobile Photo Editing Matters
Every camera captures light differently. Even a great photo can benefit from small adjustments to brightness, contrast, colors, and sharpness. Editing helps bring out the best in your image while keeping it natural.
Instead of changing everything, focus on improving what is already there. Small improvements often create the biggest impact.
Start with a High-Quality Photo
Editing cannot completely fix a blurry or poorly exposed picture. Before opening any editing app, make sure you have the best photo possible.
Here are a few simple photography tips:
- Clean your phone camera lens.
- Use natural light whenever possible.
- Hold your phone steady while taking photos.
- Avoid excessive digital zoom.
- Tap the screen to focus on your subject.
A well-captured photo always produces better editing results.
Choose the Right Mobile Editing App
Many excellent editing apps are available for beginners. Choose one that offers basic editing tools without making the interface confusing.
Useful features include:
- Brightness adjustment
- Contrast control
- Saturation
- Highlights and shadows
- Cropping
- Straightening
- Sharpness
- Color temperature
Learn one app thoroughly before switching between multiple apps.
Crop for Better Composition
Cropping is one of the easiest ways to improve a photo.
Remove unnecessary objects around the subject and position your main subject using the rule of thirds whenever possible. A clean composition naturally draws attention to what matters most.
Avoid cropping too aggressively because it can reduce image quality.
Adjust Brightness Carefully
Brightness affects the overall appearance of your image.
If a photo looks too dark, increase brightness slightly. If it appears washed out, reduce it a little. Make gradual adjustments instead of moving the slider to the maximum.
Natural-looking edits are usually more attractive than dramatic ones.
Improve Contrast Without Overdoing It
Contrast adds depth between the light and dark areas of a photo.
A small increase in contrast can make images appear clearer and more vibrant. However, too much contrast may hide details and create an unnatural look.
Use contrast sparingly for the best results.
Balance Highlights and Shadows
Many beginners ignore highlight and shadow controls, but these tools are incredibly useful.
Lowering highlights helps recover detail in bright skies or white clothing.
Increasing shadows reveals details hidden in darker areas without making the photo look artificial.
This combination often creates a more balanced image.
Use Saturation with Care
Increasing saturation makes colors more vivid.
While vibrant colors can look appealing, excessive saturation often makes photos unrealistic. Instead, increase saturation slightly until colors appear rich but believable.
If your editing app includes a Vibrance adjustment, use it before increasing saturation because it tends to produce more natural results.
Correct White Balance
Sometimes photos appear too blue or too yellow because of lighting conditions.
Adjusting the white balance helps restore natural colors.
- Cooler tones create a fresh appearance.
- Warmer tones create a cozy atmosphere.
Choose whichever matches the mood of your photo while keeping skin tones realistic.
Sharpen Only at the End
Sharpening improves small details, but too much sharpening creates unwanted grain and rough edges.
Apply sharpening only after completing all other edits.
A subtle amount is usually enough.
Keep Skin Looking Natural
Portrait editing should enhance someone’s appearance without making them look unrealistic.
Avoid excessive skin smoothing or heavy filters.
Instead:
- Adjust brightness slightly.
- Improve lighting.
- Remove small distractions if necessary.
- Preserve natural skin texture.
Natural portraits often look more professional than heavily edited ones.
Use Presets as a Starting Point
Many editing apps offer presets or filters.
These can save time, but don’t rely on them completely. After applying a preset, fine-tune the brightness, contrast, and colors to suit your image.
Every photo is different, so one filter won’t work perfectly every time.
Don’t Forget Straightening
A slightly tilted horizon can distract viewers.
Before saving your photo, check whether buildings, roads, or the horizon appear level.
Straightening takes only a few seconds but significantly improves the final image.
Compare Before and After
One useful editing habit is comparing the edited version with the original.
Ask yourself:
- Does the image still look natural?
- Is the subject clearer?
- Have important details been preserved?
If the edited version looks overly dramatic, reduce some adjustments.
Save in High Quality
Many beginners accidentally reduce image quality while exporting.
Whenever possible:
- Export at the highest available resolution.
- Avoid repeated compression.
- Keep the original image as a backup.
High-quality exports look better on websites, social media, and printed materials.
Common Mobile Photo Editing Mistakes
Avoid these frequent beginner mistakes:
- Overusing filters
- Increasing saturation too much
- Excessive skin smoothing
- Over-sharpening images
- Ignoring composition
- Cropping too tightly
- Editing every photo the same way
- Forgetting to save the original version
Learning what not to do is just as valuable as learning editing techniques.
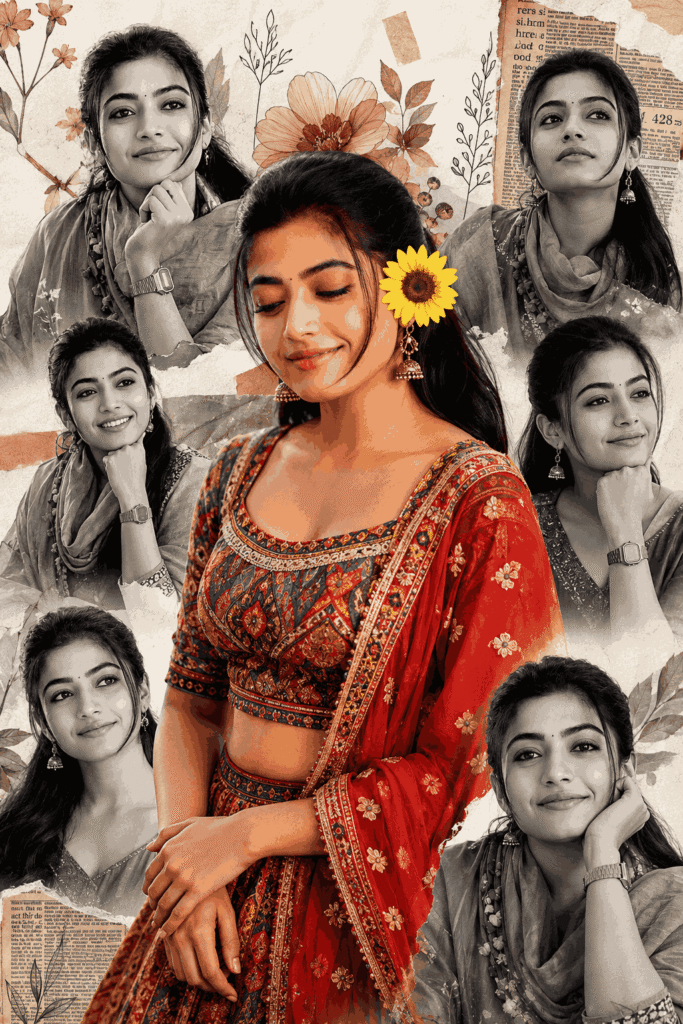
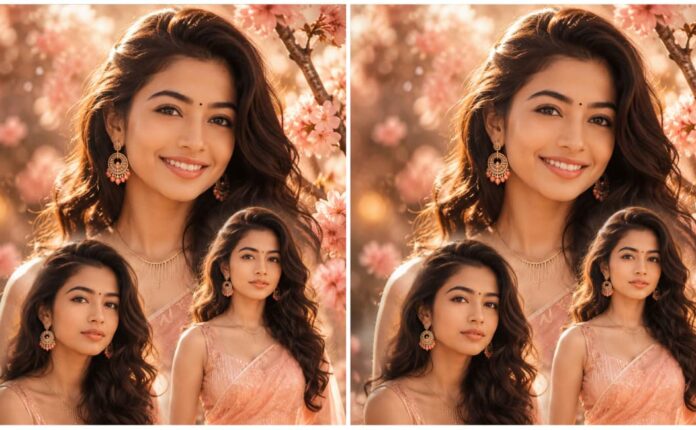
A stylish digital collage portrait featuring the same young woman repeated in multiple candid and posed moments, with the central figure in full color wearing a vibrant multicolored traditional lehenga choli with intricate embroidery, a red embroidered dupatta draped over one shoulder, ornate jhumka earrings, and a large yellow sunflower tucked behind one ear. She has medium-length dark brown wavy hair with a soft side part, expressive dark eyes, natural eyebrows, a warm smile, soft natural makeup, and a relaxed, graceful expression. Her pose is three-quarter profile with her head slightly tilted downward, hands gently clasped in front, conveying elegance and serenity. Surrounding the central portrait are six monochrome black-and-white portraits of the same woman displaying different expressions and outfits, arranged asymmetrically to create a storytelling montage. The background is a textured off-white handmade paper surface decorated with soft pastel floral elements, delicate hand-drawn botanical line art, torn vintage newspaper clippings, and layered scrapbook textures. Warm golden-hour lighting illuminates the central subject while the surrounding portraits have soft monochrome contrast. Eye-level camera angle, medium-full portrait composition, approximately 50mm prime lens, shallow depth of field, crisp facial details, realistic skin texture, natural fabric folds, high dynamic range, ultra-photorealistic, cinematic color grading, subtle bokeh, editorial fashion photography, premium magazine cover aesthetic, balanced composition, high-resolution 8K, extremely detailed, realistic lighting, soft shadows, elegant, artistic, modern scrapbook collage style.
Practice Makes the Biggest Difference
Photo editing is a skill that improves through experience.
Try editing the same image in different ways. Experiment with lighting, color, and composition while paying attention to what looks realistic.
Over time, you’ll develop your own editing style and become much faster at producing high-quality results.
Remember that great editing is often subtle. The goal isn’t to make viewers notice the editing—it’s to make them notice the photograph.
Conclusion
Mobile photo editing doesn’t have to be complicated. By focusing on the fundamentals—good lighting, thoughtful cropping, balanced colors, careful sharpening, and natural adjustments—you can dramatically improve your photos using only your smartphone.
The best edits enhance the original image instead of hiding it. Start with simple adjustments, practice consistently, and develop your own creative style. As your confidence grows, you’ll find that creating beautiful, professional-looking photos on your mobile device becomes easier with every edit.
Frequently Asked Questions
1. Which mobile photo editing app is best for beginners?
Choose an app that offers simple tools for brightness, contrast, cropping, and color adjustments. Master the basics before exploring advanced features.
2. Should I use filters on every photo?
Not necessarily. Filters can be helpful, but adjusting each image individually usually produces more natural and consistent results.
3. How can I make my photos look professional?
Focus on good lighting, clean composition, balanced colors, and subtle editing. Avoid making changes that look exaggerated.
4. Is it better to edit photos immediately after taking them?
You can, but reviewing the photo after a short break often helps you notice details and avoid over-editing.
5. How often should I practice mobile photo editing?
Even editing a few photos each week will improve your skills. Regular practice helps you understand what adjustments work best in different lighting and photography situations.
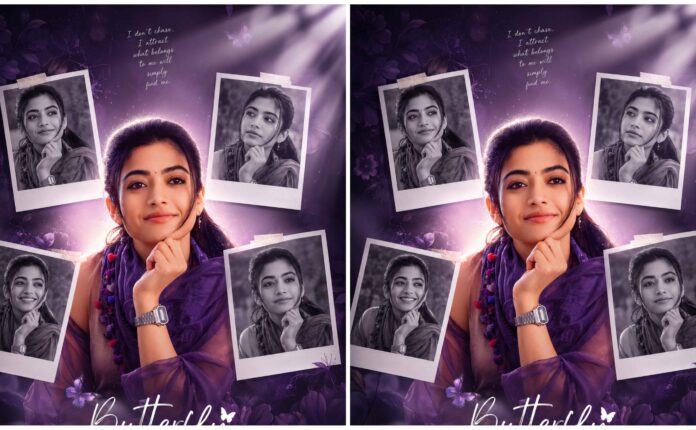
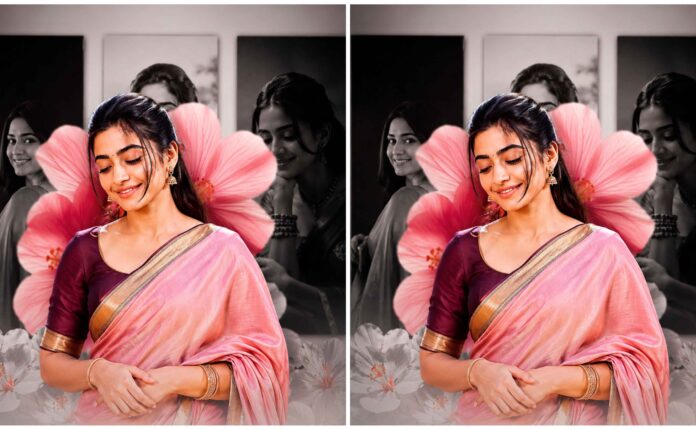
The step-by-step mobile editing advice is practical, especially the reminder to edit with the final crop and viewing context in mind. When an image also needs an accessible text explanation, I use Image Describer (https://imagedescriber.dev) as a quick second pass.